Appearance
Using the Xvid MediaHub Plugin for OpenCart Shop
Setup and Installation
If you currently run your site based on an OpenCart-based shop, it is rather easy to integrate it with Xvid MediaHub. By installing the Xvid MediaHub OpenCart plugin, you can:
- Sell Xvid MediaHub hosted videos as downloadable products and offload the product downloads to the hyper-fast Xvid MediaHub CDN.
- Protect videos that you sell with Xvid AutoGraph forensic watermarking (you'll be able to track each illegal copy of videos you sold back to the OpenCart User ID of the user who pirated the content).
So let's start with setting up the necessary pieces...
Step 1: Install the Xvid MediaHub Plugin in Your OpenCart Shop
- Download the plugin archive from here.
- Log in to your OpenCart admin backend, click "Extensions" -> "Extensions Installer" and "Upload" the
xvid_mediahub.ocmod.ziparchive. - Make sure that the new extension is enabled in your list of Installed Extensions. If not auto-enabled, then manually click on "Enable".
Step 2: Create an Application to Use with Your Site in Your Xvid MediaHub Account
TIP
If you have created an application already as part of some other tutorial, you can skip this step.
An application sets up a set of alternative "login" credentials, allowing you to delegate API access under your account to one (or more) applications (e.g. a script, your website, etc.). This way you don't need to leak your actual username and password into an application config file, and you can also at any time disable API access of a certain application or re-create the entire application with new credentials in case an app got compromised or insecure — without harming your overall account or any other app in your account.
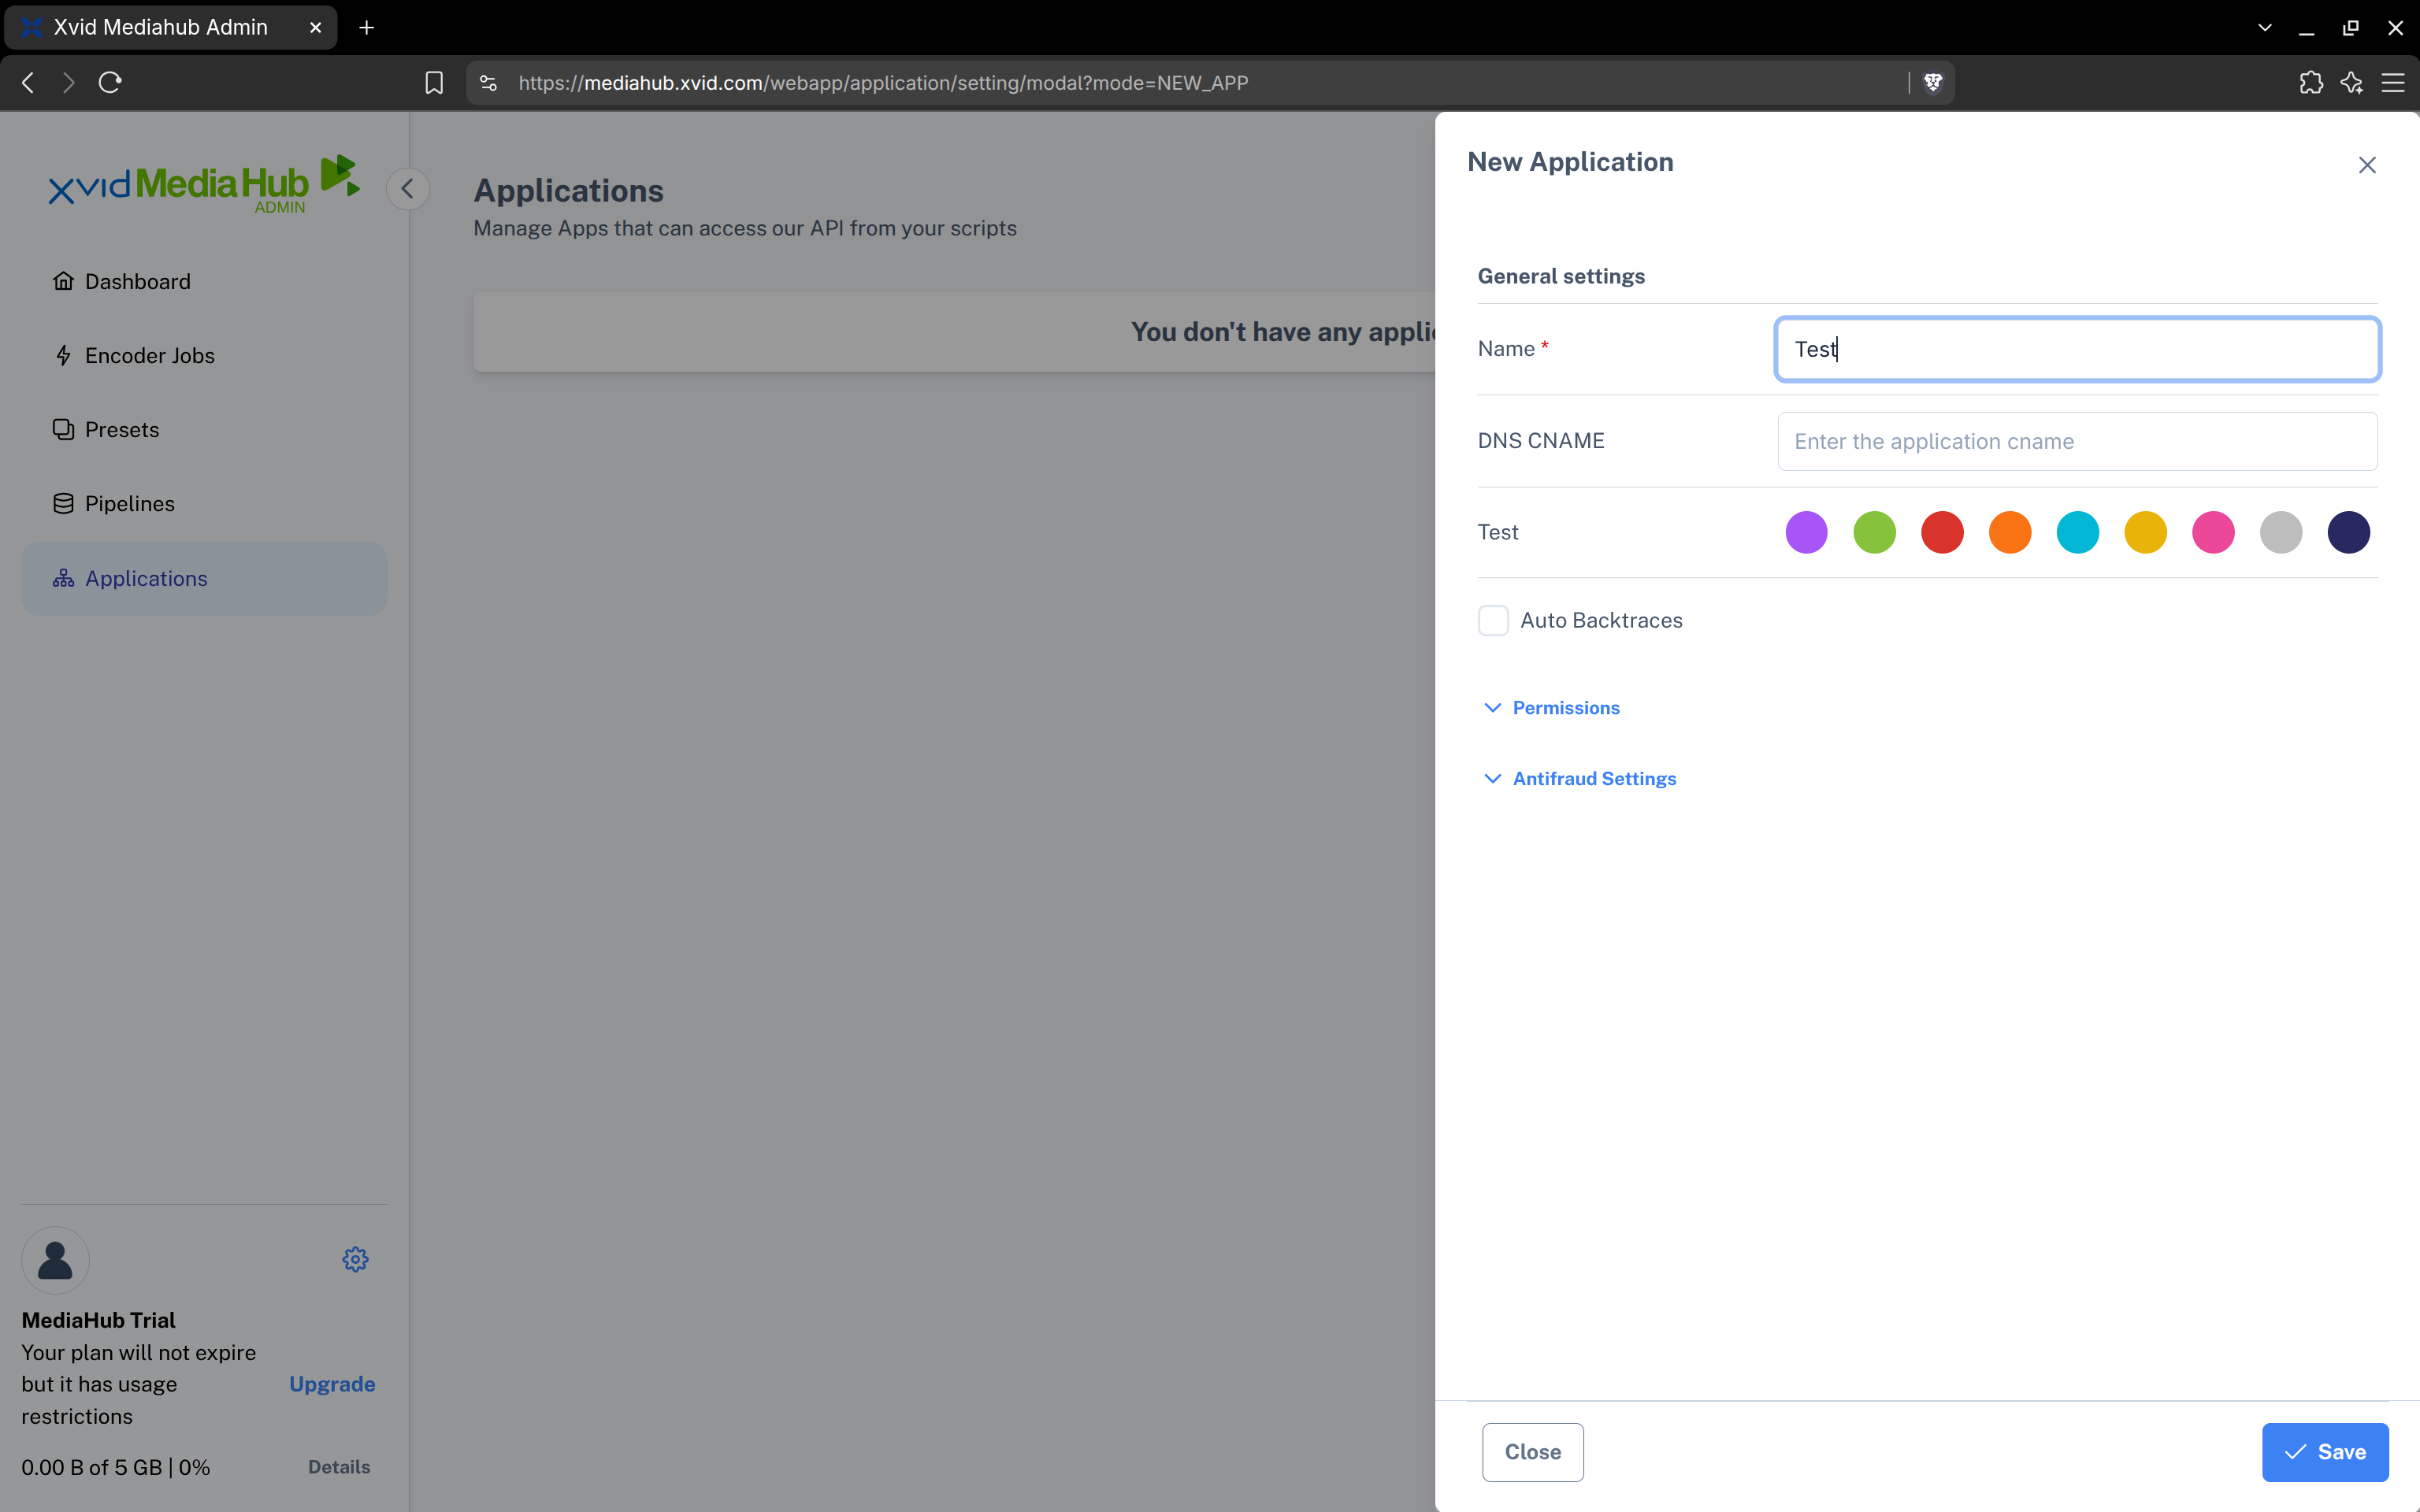
So let's switch to the "Applications" page and click "Add new Application", then enter a name for your new app and click "Save":
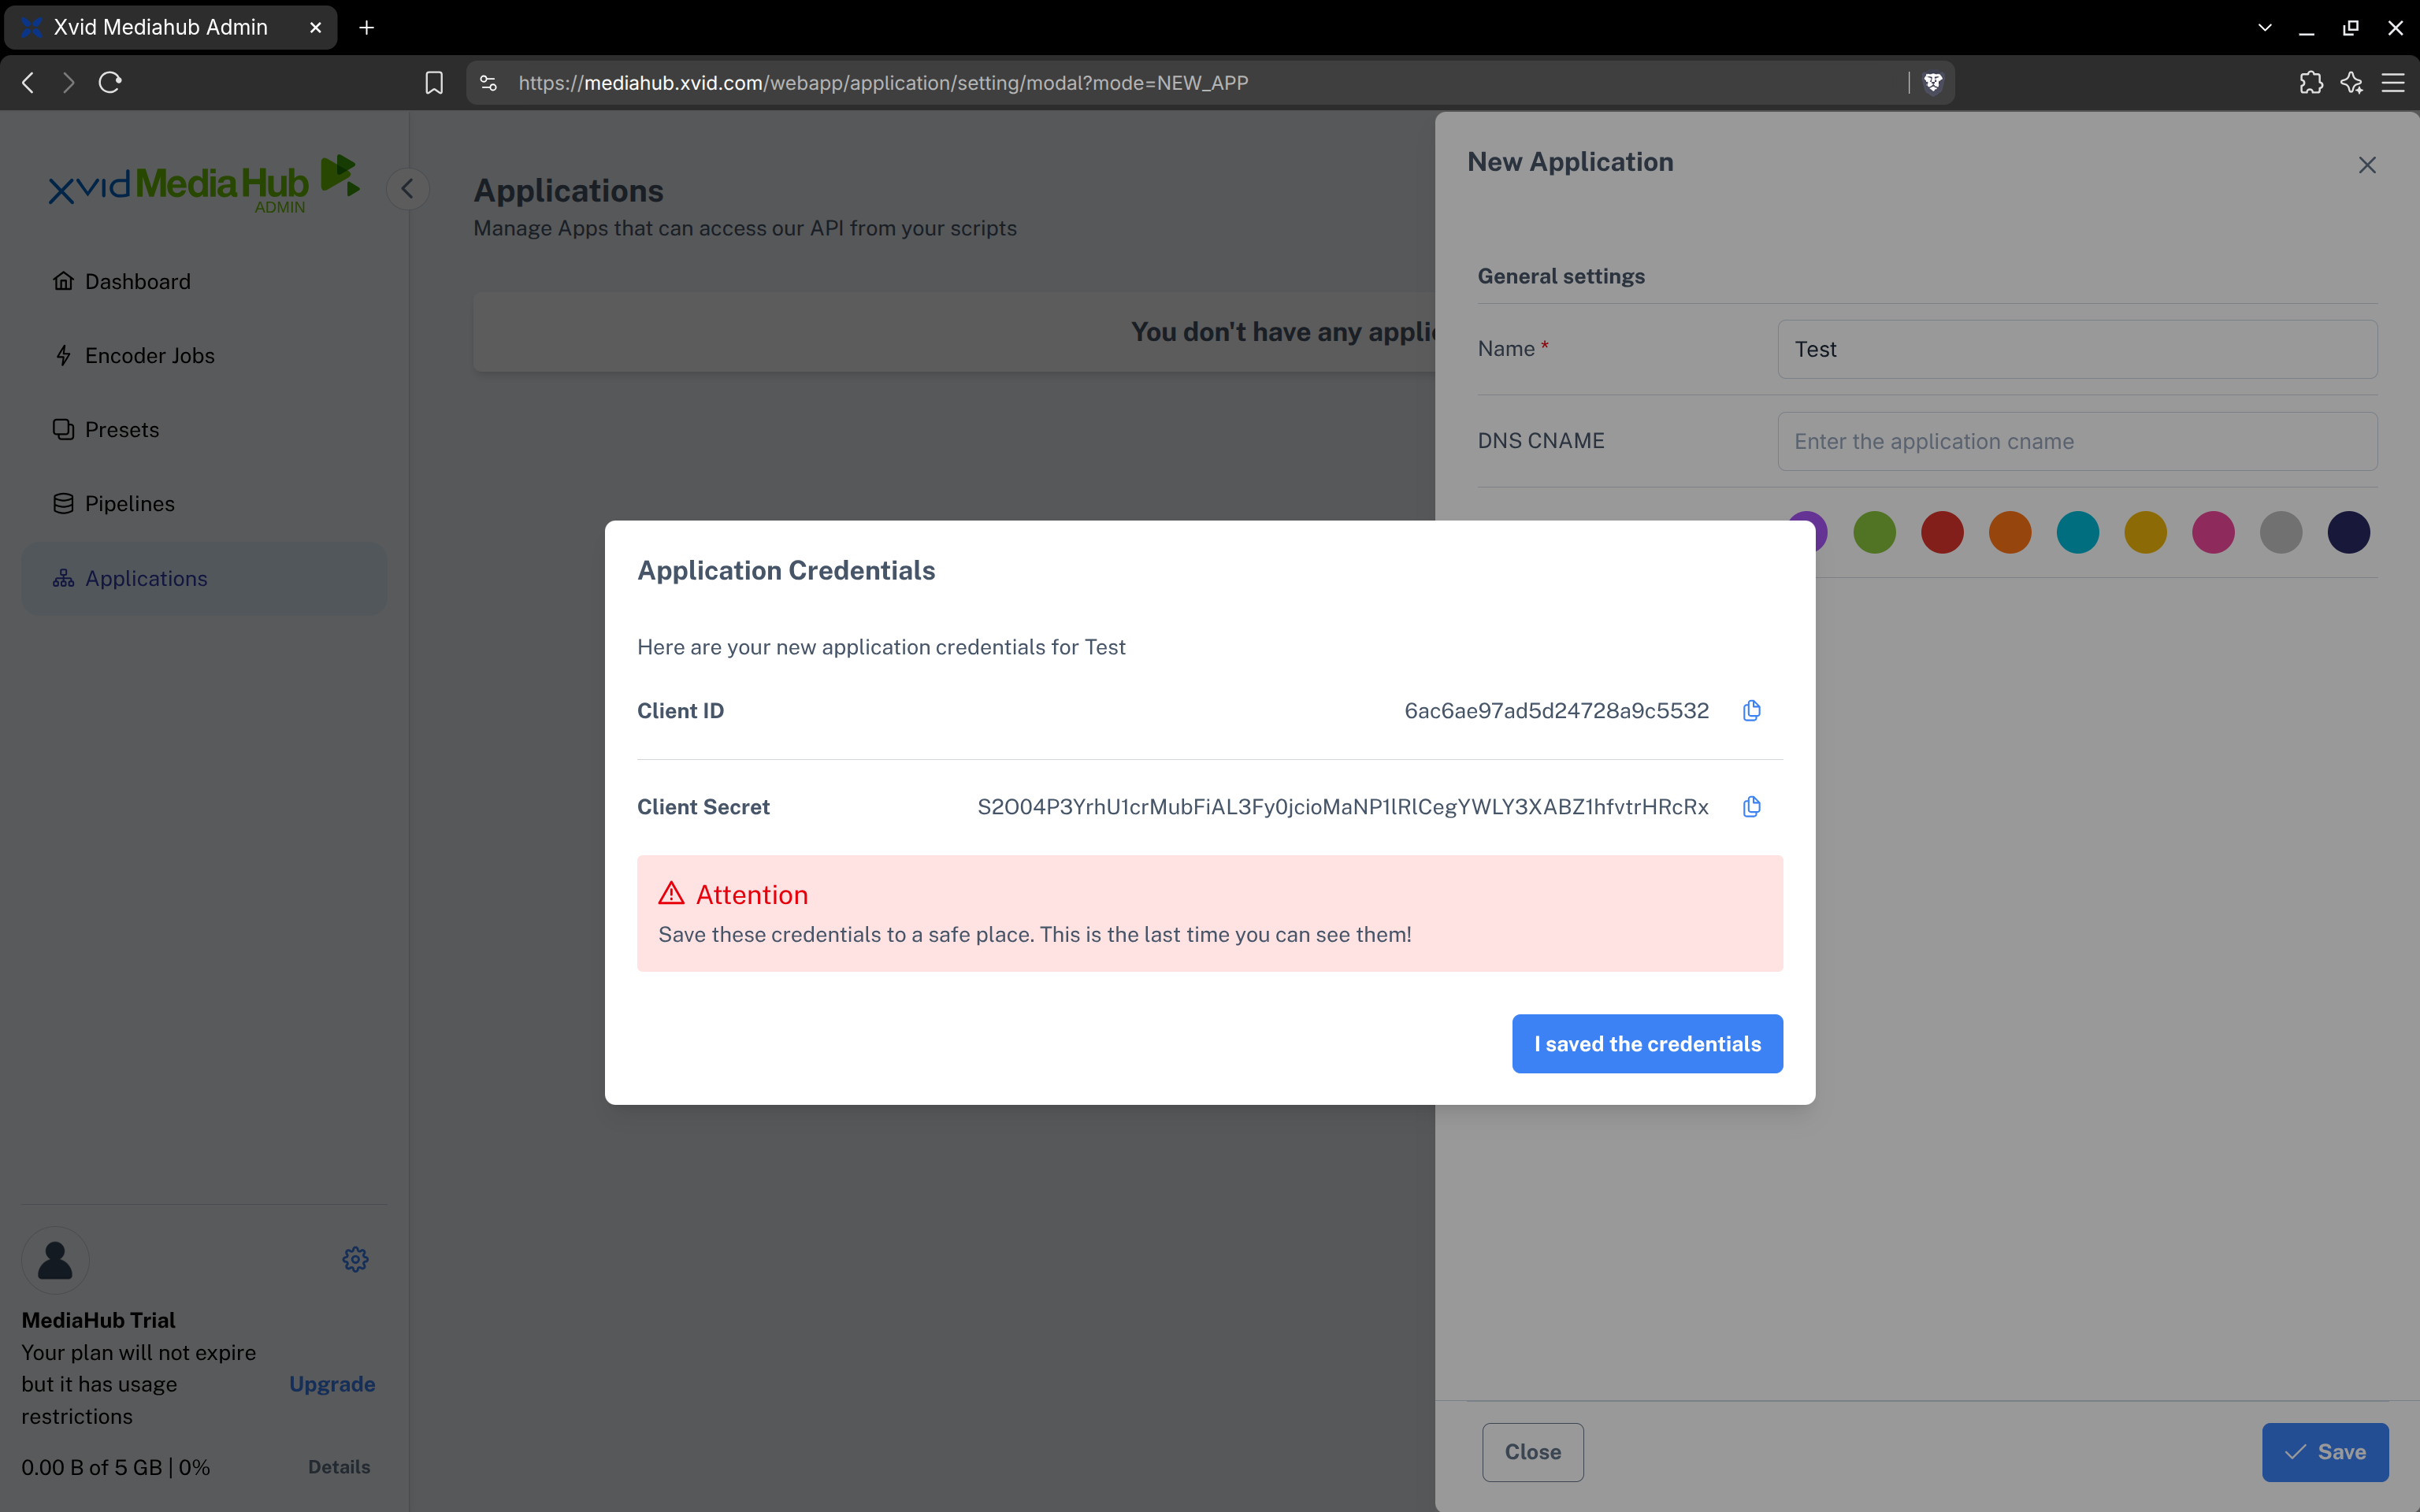
You will then see a popup displaying the credentials corresponding to your newly created application. Click on the "Copy" icon to copy & paste your Client ID and Client Secret. We'll need them in the next step:
Step 3: Configure Your New Xvid MediaHub OpenCart Extension
- Log into the OpenCart admin backend.
- Click on "Settings" -> "Default Store", then select "Xvid MediaHub".
- Copy & paste your application's Client ID and Client Secret into the respective fields in the configuration dialog.
- Enter
autograph.xvid.comas the Download Domain. - Set "Treat as AutoGraph by default" to "Yes" if you plan to distribute your videos with Xvid AutoGraph protection in general.
Step 4: Add a MediaHub Hosted Video to a Downloadable Product
- For each Xvid MediaHub hosted video that you want to sell, you first need to create a "Download" in OpenCart. For this, go to "Catalog" -> "Downloads" and click the "+" button to create a new download.
- Assign a descriptive name for your download in the "Download Name" field. This is the description that's shown to the end-user in their list of available downloads. So if you offer your video in multiple resolutions (like 720p, 1080p or 4K), you should always also mention the resolution in the download name, so that the user will know what it is.
- You can just leave the "Mask" field empty if your video is supposed to be Xvid AutoGraph watermark-protected and you've already chosen the "Treat as AutoGraph by default" option in the Xvid MediaHub settings page. Otherwise, you put a "autograph=false" into the "Mask" field to override the general config and switch off AutoGraph protection for this video.
- In the "Filename" field just always enter (without the quotes)
https://autograph.xvid.com/downloads/?file_id=and then append the Xvid MediaHub file ID of your video. Do not click the "Upload" button on the right end of the field (because there's no need to upload anything as the file is hosted via Xvid MediaHub), but just click the "Save" button once you're done. - Once you've created your new download, you can assign it to one or more of your downloadable products as usual. So select your product, and go to "Downloads" under the "Links" tab. It is an autocomplete field, so by typing part of the name of the download, your newly created Xvid MediaHub hosted download will be offered and you can select it to add it to your product.